Creating and Managing Survey Filters
Survey Filters can be created and managed in the IntelliBrand console. These filters help organise surveys, making them easier to find and manage.
Accessing Survey Filters
Navigate to Master Data > Lookups.
Look for the Survey Filter group.Click the + icon to expand the list and view the existing survey filters.

Adding a New Survey Filter
To create a new survey filter:
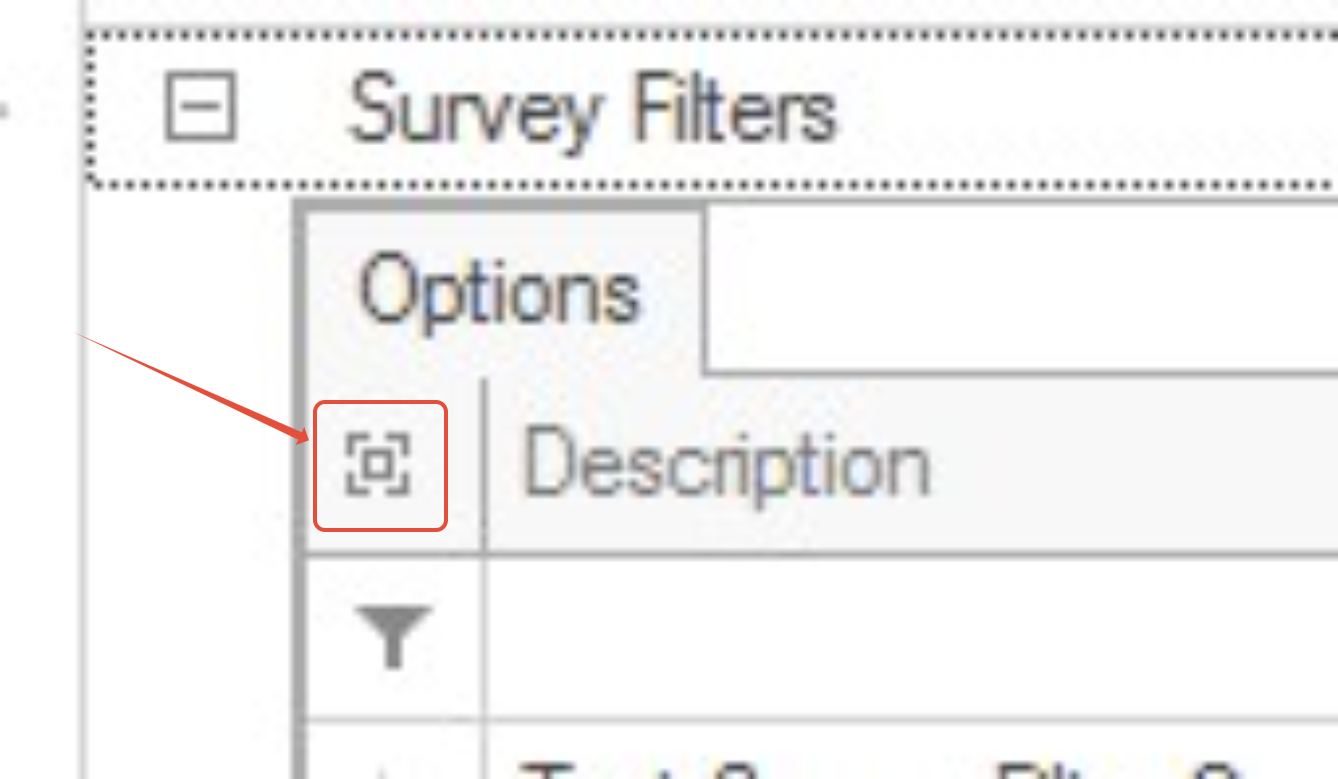
Click the Open icon to open the Survey Filters screen.
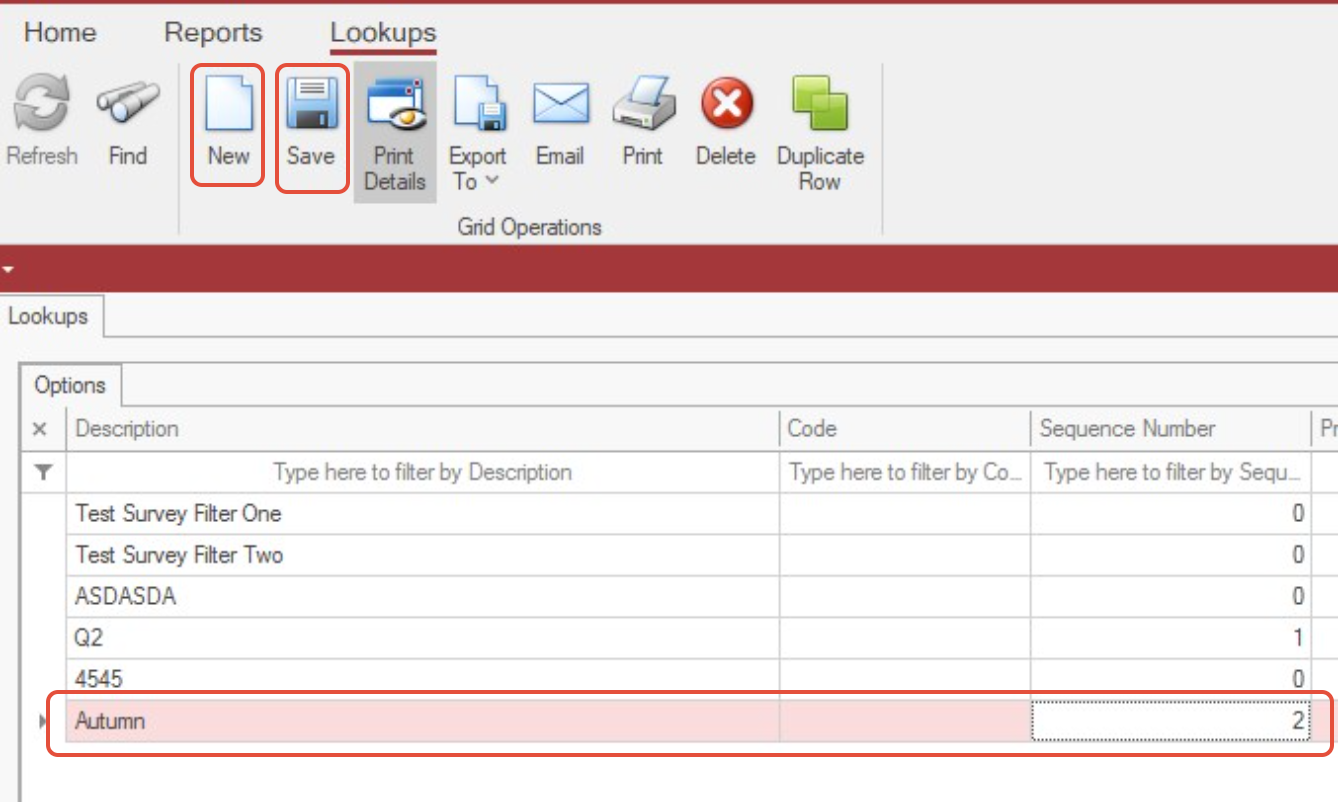
Select New to add a new filter.
Enter the Survey Filter Name.
Enter a Sequence Number to determine the order in which the filter is displayed.
Click Save to complete the process.
Your new survey filter will now appear in the list of available filters.
Assigning a Survey Filter to a Survey
Once you have created a survey filter, you can assign it to a survey in the Survey Designer.
Navigate to Master Data > Surveys > Design Surveys.
Select the survey you want to assign the filter to.
In the Survey Design panel, locate the Survey Details section.
Select the required filter from the Filter drop-down menu.
The survey will now be associated with the selected filter, making it easier to organise and locate.
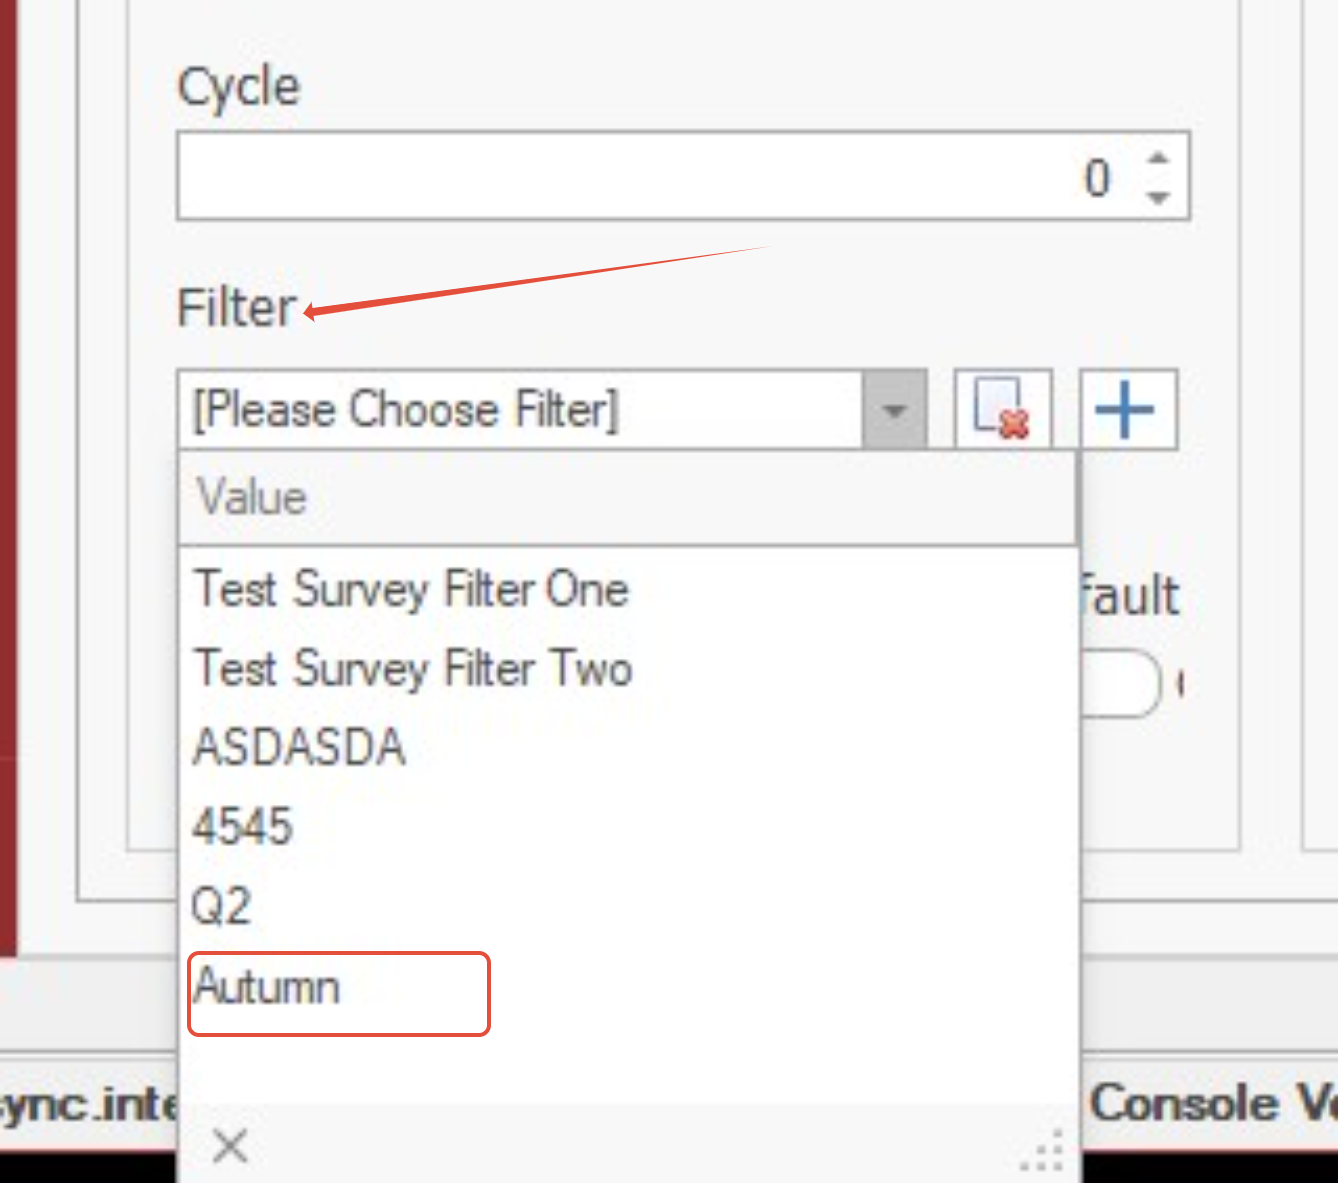
Creating a New Survey Filter from the Survey Designer
You can also create a new survey filter directly from the Survey Designer without navigating to the Lookups screen.
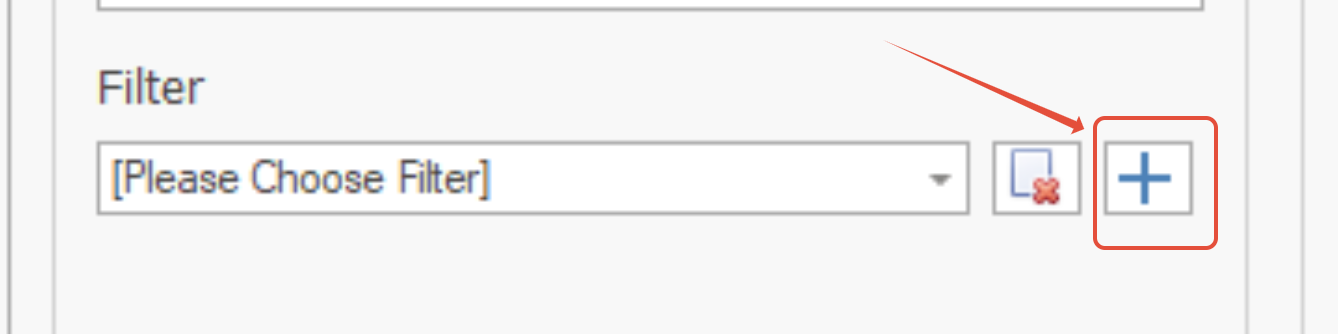
In the Survey Details section, click the + icon beside the Filter drop-down menu.
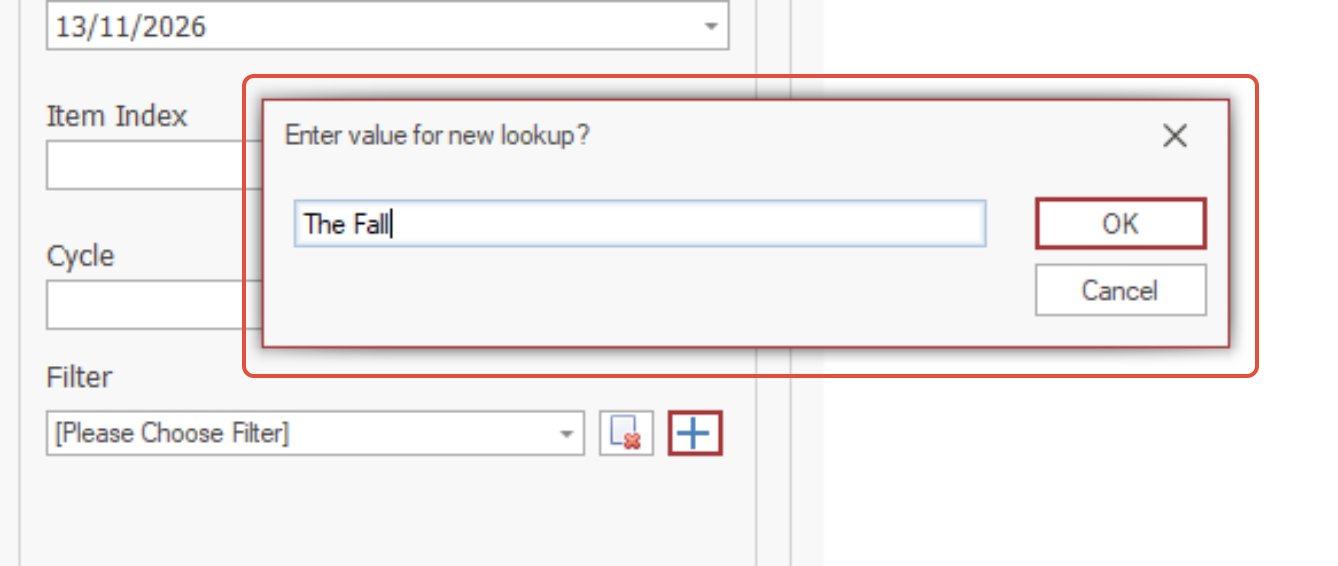
A dialog box will appear. Enter a name for your new survey filter.
Click OK to create the filter.
The new filter will now be available in the Filter drop-down menu for selection.
Note: Any survey filters created here will also appear under Master Data > Lookups > Survey Filter in the console, where they can be viewed and managed.